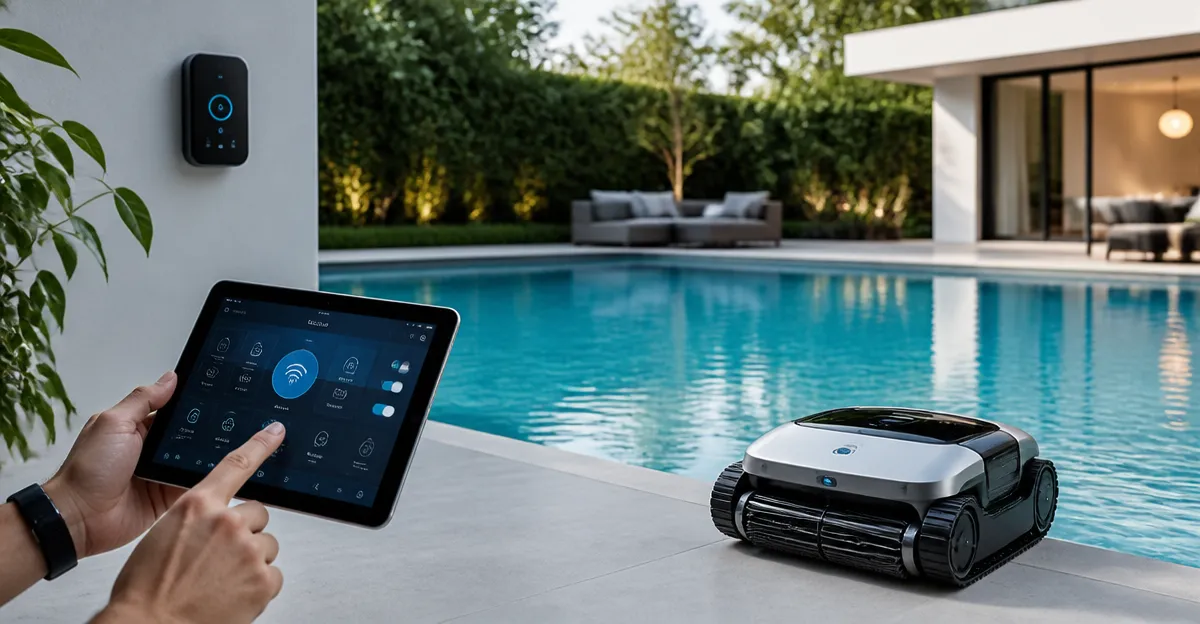
How to Integrate a Cordless Pool Robot with Your Pool Automation System — Step-by-Step Guide
Introduction
Modern pool owners increasingly rely on automation to reduce manual labor and maintain water quality. This guide explains how to connect a cordless pool robot to a typical home automation hub, allowing remote scheduling, real‑time monitoring, and seamless integration with lighting or chemical dosing systems. Readers will learn the required hardware, configuration steps, and best‑practice tips that ensure reliable operation. By the end of the article, one will be able to enjoy a hands‑free cleaning experience while preserving energy and extending the robot’s lifespan.
What You'll Need
- Compatible cordless pool robot (see product recommendations below)
- Wi‑Fi enabled pool automation hub or smart home bridge (e.g., Home Assistant, SmartThings, or a dedicated pool controller)
- Smartphone or tablet with the robot's companion app installed
- Standard Ethernet or Wi‑Fi network with reliable coverage around the pool area
- Optional: waterproof power strip for charging dock, surge protector, and a basic toolbox
All of the robots listed in the following sections are ready‑made solutions that include a charging dock, Bluetooth/Wi‑Fi module, and a mobile app. Selecting the right model depends on pool size, desired cleaning zones, and budget.
Step 1: Assess Compatibility and Choose the Right Robot
The first technical decision is to verify that the robot can communicate with your automation platform. Most newer models expose a REST API or integrate through IFTTT, which Home Assistant can call directly. The Aiper Scuba S1 offers robust Wi‑Fi connectivity, a well‑documented API, and a 270‑minute runtime, making it ideal for larger residential pools. With a price of $529.99 and a 4.3‑star rating from 836 reviews, it balances performance and cost.
For users who prefer a cordless unit with a strong remote‑control capability, the EvoRynk HG800 provides underwater remote control and dual‑scrubbing rollers. Priced at $699.00 and backed by a 5‑star rating for power, it excels in complex pool shapes. If budget is a primary concern, the CZYBYTE Cordless Pool Robot delivers 4,500 GPH suction, a 4‑liter debris basket, and a $299.99 price point, earning a 4.8‑star rating.
Advanced users who want AI‑driven debris detection may opt for the Aiper Scuba V3. Although it costs $799.98 and carries a 4‑star rating, its AI camera can identify over 20 debris types and create autonomous weekly cleaning plans. Finally, the Gosvor LiteVac G1 offers a lightweight design at $329.98 with a 4.4‑star rating and 3,960 GPH suction, suitable for medium‑size pools.
Step 2: Prepare Your Network and Power Infrastructure
Reliable Wi‑Fi coverage is essential because the robot communicates with the hub via the same network. Begin by placing a Wi‑Fi extender or mesh node within five meters of the pool deck to eliminate dead zones. Verify signal strength with a smartphone app; a minimum of –70 dBm is recommended for stable data transfer.
Next, ensure the charging dock is connected to a surge‑protected outlet. Even though the robots are cordless, the dock remains plugged in continuously. Use a waterproof power strip rated for outdoor use, and route the cable away from high‑traffic areas to prevent tripping hazards.
If your automation hub resides in a different room, run an Ethernet cable to the hub for a wired backhaul, which reduces latency when sending commands to the robot. Many hubs, such as Home Assistant, support both Wi‑Fi and Ethernet simultaneously.
Step 3: Install the Robot and Register It in the Companion App
Unbox the chosen robot and place it on the charging dock. For the Aiper Scuba S1, align the magnetic contacts on the dock with the robot's charging pads; the unit will snap into place and begin a brief calibration cycle. Follow the same procedure for the other models, ensuring the charging port is sealed (as noted for the CZYBYTE model) before submerging.
Download the manufacturer's app from the App Store or Google Play. Open the app, create an account, and follow the on‑screen wizard to add a new device. Most apps will scan for nearby robots automatically; select your robot, confirm the Wi‑Fi credentials, and allow firmware updates if prompted. Updating firmware at this stage prevents future connectivity issues.
After registration, verify that the robot appears as an online entity within the app. Conduct a short 5‑minute test run in “Auto” mode to confirm that the robot navigates correctly and returns to the dock when the battery is low.
Step 4: Connect the Robot to Your Pool Automation Hub
With the robot visible in its native app, the next step is to expose it to the broader automation ecosystem. In Home Assistant, add a new integration via the “Integrations” page and search for the robot's manufacturer (e.g., Aiper, EvoRynk). Provide the API token generated in the companion app; this token authorizes the hub to issue commands such as start, stop, and schedule.
If your hub does not have a native integration, use an IFTTT applet. Create a trigger “When button pressed in Aiper app, then send webhook to Home Assistant.” This method works for the EvoRynk HG800 and CZYBYTE Cordless Pool Robot, both of which support webhook endpoints.
Once the integration is active, you will see a new entity in the dashboard (e.g., sensor.scuba_s1_status). You can now create automations that trigger cleaning based on pool temperature, chemical levels, or time of day.
Step 5: Configure Cleaning Schedules and Zones
Automation shines when cleaning is scheduled to complement other pool operations. For example, set the robot to start at 02:00 AM, after the pool pump has run for an hour, ensuring that debris is captured before the water circulates back to the filtration system. Use the app's “Eco Mode” for a 270‑minute runtime on the Aiper Scuba S1 when you only need surface cleaning, conserving battery life.
Define zones within the automation interface. Most robots support floor, wall, waterline, and shallow‑area cleaning. Assign the “Wall” zone to run only when the pool temperature exceeds 78 °F, as algae growth is more likely in warmer water. The Gosvor LiteVac G1 offers a “Smart” mode that automatically adjusts its path based on pool shape, which can be leveraged for irregularly shaped pools.
Save the automation and enable it. Most hubs allow you to monitor the robot's battery level, filter status, and cleaning progress from a single dashboard, giving you real‑time insight without opening the pool.
Step 6: Test, Optimize, and Fine‑Tune
Run the first scheduled cleaning and observe the robot's behavior. Verify that it completes the full route, returns to the dock, and that the hub receives a “cleaning completed” event. If the robot misses a corner, adjust the navigation parameters in the app: increase the sensor sensitivity for the EvoRynk HG800 or enable “WavePath” on the Aiper Scuba S1.
Check the debris basket after each run. The Aiper Scuba S1 uses a dual‑layer filter (3 µm ultra‑fine + 180 µm standard) that captures fine particles; emptying it weekly maintains suction efficiency. The CZYBYTE Cordless Pool Robot provides a 4‑liter top‑load basket, which should be emptied after each deep‑clean cycle.
Finally, review the automation logs for any failed commands. Adjust retry intervals or add notifications to your phone so you are alerted if the robot fails to start.
Tips & Pro Tips
- Place the charging dock on a level, non‑slippery surface to prevent the robot from slipping during docking.
- Use the “Eco Mode” for routine surface cleaning and switch to “Auto” or “Floor” mode for heavy debris weeks.
- Enable OTA (over‑the‑air) updates in the app; manufacturers regularly release navigation improvements.
- For pools with multiple zones, consider using two robots (e.g., an Aiper Scuba S1 for floor cleaning and a EvoRynk HG800 for wall and waterline).
- Secure the Wi‑Fi network with a strong password to prevent unauthorized access to the robot.
Troubleshooting
Robot does not connect to Wi‑Fi: Verify that the pool area is within range of the router. Restart both the robot and the router, then re‑enter the Wi‑Fi credentials in the companion app.
Robot stops mid‑cycle: Check the battery level in the app; most models automatically return to dock when low. If the battery appears full, inspect the filter for clogs that may cause motor strain.
Missed spots or uneven coverage: Enable the high‑precision sensor mode (available on the Aiper Scuba S1 and EvoRynk HG800). Adjust the cleaning pattern from “WavePath” to “Cross” if your pool has a rectangular shape.
App reports “device offline” after schedule: Ensure the dock’s power outlet has not tripped. Some models require a manual reset button on the dock after a power loss.
Conclusion
Integrating a cordless pool robot with a home automation system transforms pool maintenance from a weekly chore into a set‑and‑forget routine. By selecting a compatible robot, establishing reliable network coverage, and configuring smart schedules, pool owners can enjoy consistently clean water while conserving energy. The steps outlined in this guide provide a repeatable process that can be adapted to any brand or automation platform. Embrace the technology, monitor performance, and let the robot handle the dirty work.
Products Mentioned in This Guide
Frequently Asked Questions
What type of Wi‑Fi network is required to connect a cordless pool robot to a home automation hub?
A stable 2.4 GHz Wi‑Fi network with strong signal strength around the pool area is recommended, as most pool robots and hubs don’t support 5 GHz.
Can I control a cordless pool robot through popular smart home platforms like Home Assistant or SmartThings?
Yes, most modern robots offer an open API or official integration that lets you add them as entities in Home Assistant, SmartThings, or similar hubs.
Do I need a separate power source for the robot’s charging dock?
A waterproof power strip or surge‑protected outlet near the dock is ideal to keep the robot charged safely and protect against moisture.
How do I schedule cleaning cycles for the robot via the automation system?
Create a routine or automation in your hub’s app that triggers the robot’s start command at desired times, using the robot’s companion app or API.
What safety precautions should I take when integrating the robot with pool lighting or chemical dosing systems?
Ensure all devices share the same network, use waterproof connectors, and configure the automation to avoid overlapping commands that could cause electrical conflicts.